
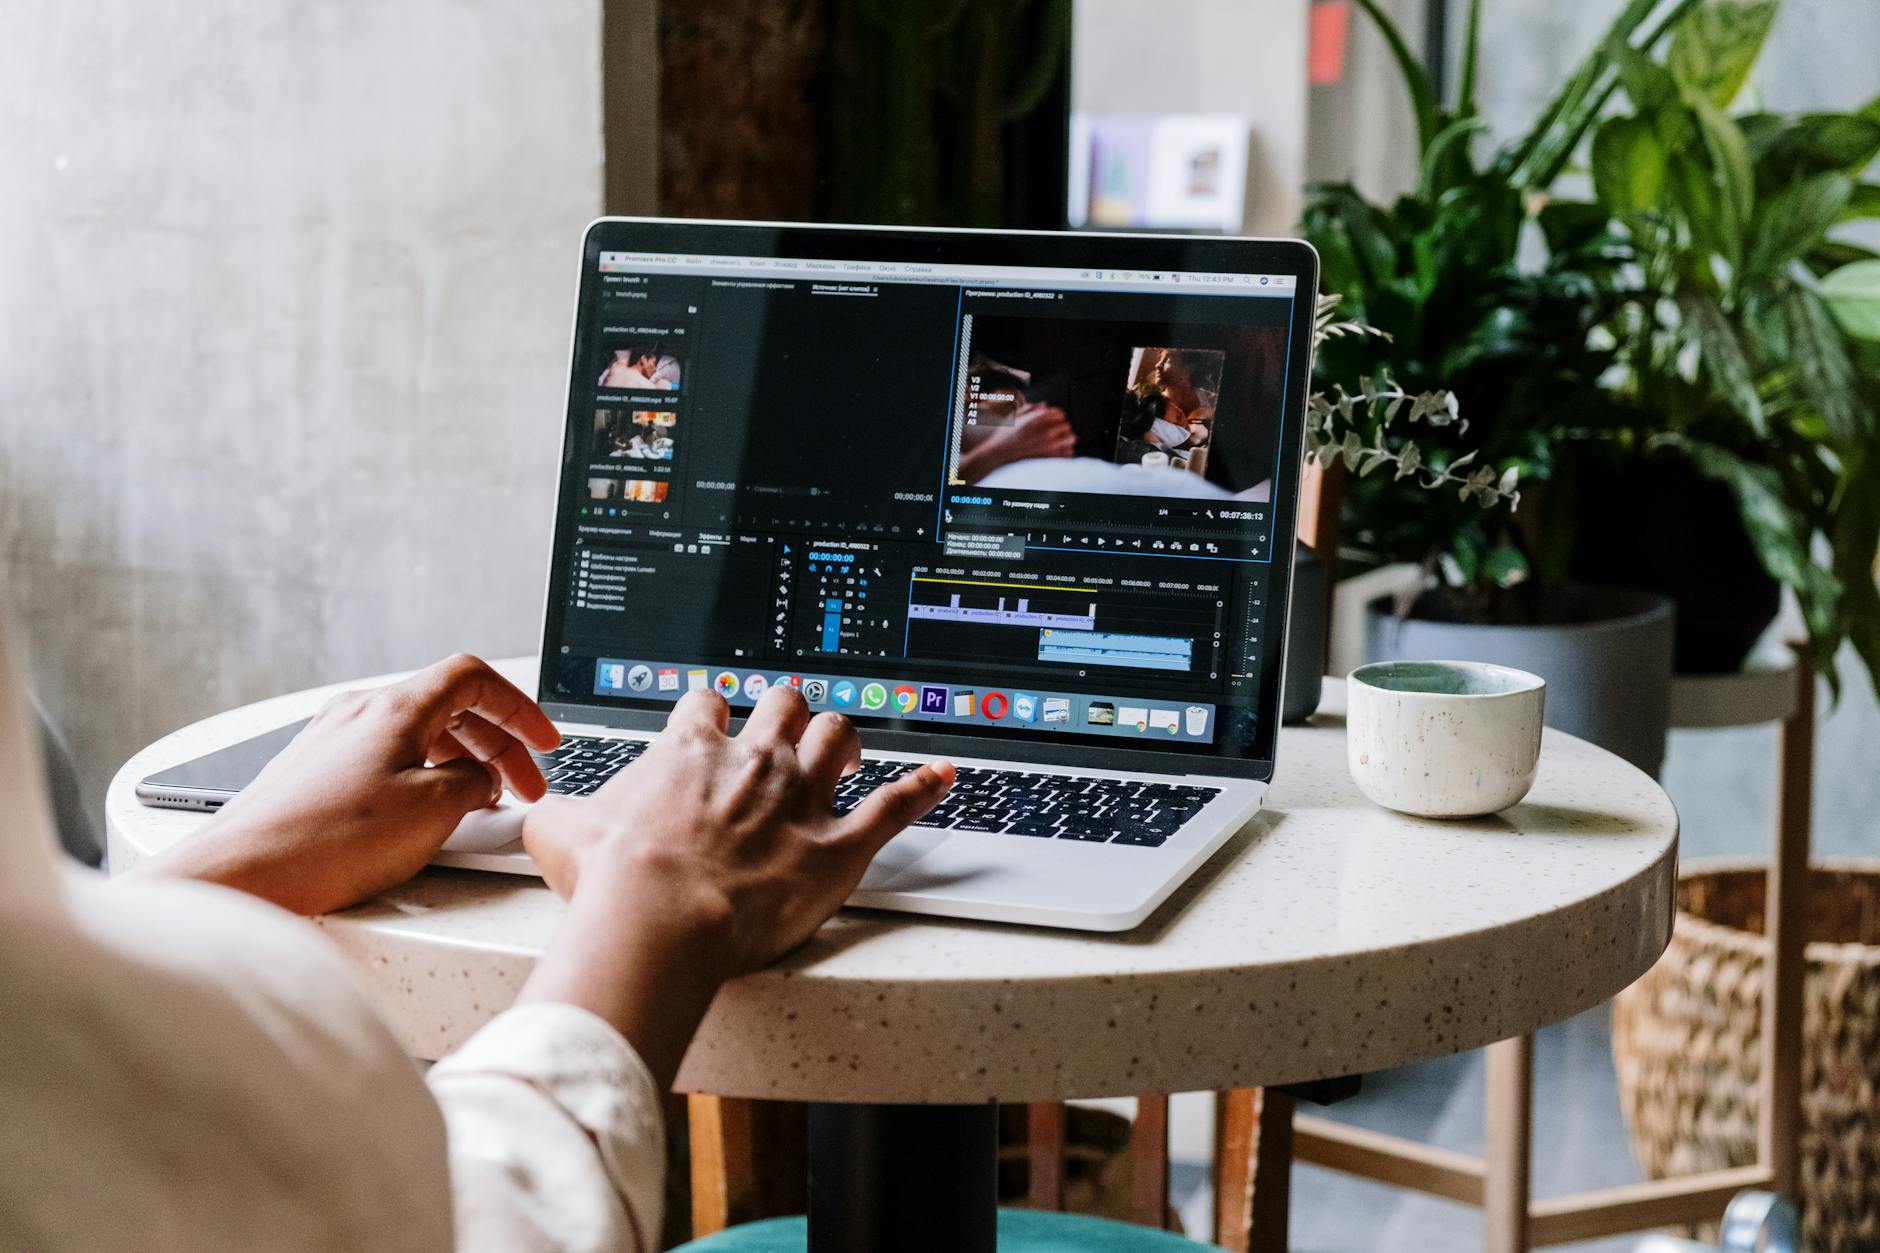
Why Break Down Long Video into Micro Clips?
Long‑form content is a goldmine, but most audiences consume video in bite‑size bursts. By learning how to break down long video into micro clips, you can stretch a single production effort into dozens of platform‑ready pieces, keep your channel active, and reach viewers who prefer short formats.
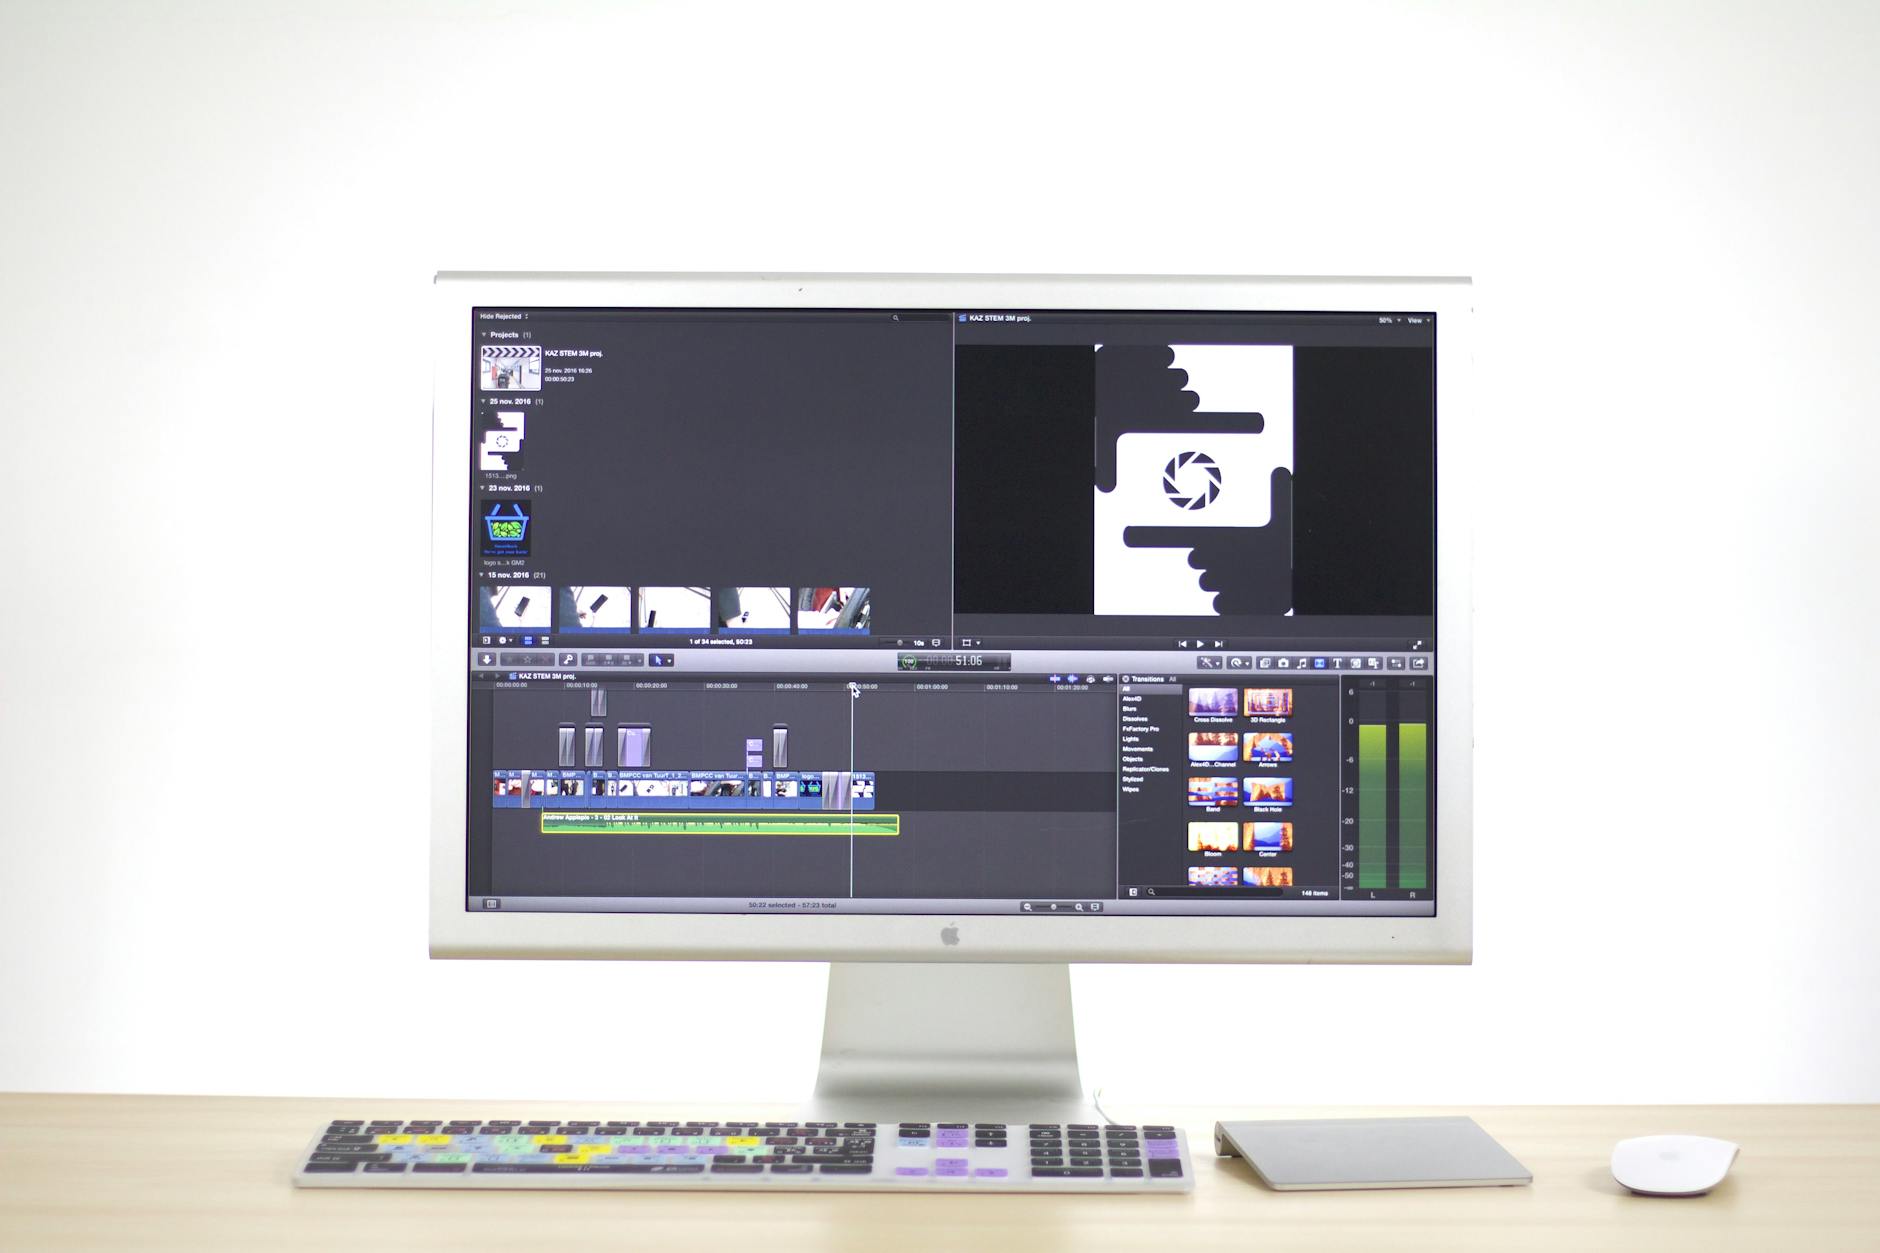
Step‑by‑Step Workflow
This workflow works for creators with basic editing skills and scales up to intermediate teams. Follow each stage, and you’ll end up with a library of ready‑to‑post clips.
1. Prepare Your Source Video
- Watch the full video once without taking notes. Get a feel for the overall narrative.
- Re‑watch with a notebook or digital note‑taking app. Mark timestamps for moments that answer these questions:
- Does this segment deliver a clear takeaway?
- Is the visual or audio hook strong enough to stand alone?
- Can the clip be understood without the surrounding context?
These marks will help you identify high‑impact moments in a long video.
2. Create a Clip Outline Using Timestamps
Open a spreadsheet (or use CreatePilot's Blog Outline Generator to structure it) and list each timestamp, a brief description, and the intended platform. This satisfies using timestamps to create clip outlines and keeps you from missing any valuable segment.
3. Name Your Micro Clips Consistently
Adopt best practices for naming micro clips early. A good naming convention includes:
- Project code (e.g., "VID01")
- Platform abbreviation (YT, TT, IG)
- Timestamp range (00-30)
- Keyword or hook phrase
Example: VID01_TT_00-30_QuickTip. Consistent names make organizing clip assets with folder conventions painless.
4. Set Up Your Editing Workspace
Use a dedicated folder for the project. Inside, create subfolders for:
- Raw footage
- Exports
- Thumbnails
- Captions
This mirrors the idea of creating a reusable clip template library—you’ll reuse the same folder tree for every long video you repurpose.
5. Trim and Export Micro Clips
Open your editing software (Premiere Pro, DaVinci Resolve, or a free option like Shotcut). Follow these guidelines:
- Import the source video and place it on the timeline.
- Using the timestamps from your outline, cut each segment into its own sequence.
- Apply a batch exporting multiple clips in Premiere Pro (or the equivalent in your editor). Set the export preset to match the target platform’s export settings for short‑form platforms—usually 1080×1920 for TikTok/IG Reels, 1080×1080 for square posts, and 1920×1080 for YouTube Shorts.
- Enable “Render at Maximum Depth” only if you need color grading; otherwise keep settings lean to speed up the batch.
When you finish, you’ll have a folder of micro clips ready for the next steps.
6. Add Platform‑Specific Captions Efficiently
Captions boost accessibility and retention. To add platform‑specific captions efficiently:
- Generate a transcript using a free service (e.g., Otter.ai) or a paid tool you already trust.
- Copy the relevant segment into a caption file (SRT). For TikTok, keep captions under 100 characters per line; for YouTube Shorts, you can use longer lines.
- Use CreatePilot’s Blog Meta Description Generator as inspiration for concise, keyword‑rich caption hooks.
Batch‑import the SRT files into your editor and enable auto‑positioning so the text appears in the safe zone for each platform.
7. Optimize Thumbnails for Each Clip
Even a 15‑second clip benefits from an eye‑catching thumbnail. Follow optimizing thumbnail frames for each micro clip by:
- Selecting a frame with a clear focal point.
- Adding bold text that summarizes the hook (max 3 words).
- Ensuring the text contrast works in both dark and light mode.
Save thumbnails in a dedicated subfolder and name them to match the clip files.
8. Test Clip Performance Before Full Release
Before you schedule all clips, run a quick test:
- Upload one clip to each platform as an unlisted or private post.
- Check playback quality, caption sync, and thumbnail visibility on mobile.
- Gather a small amount of data (views, watch time) from trusted friends or a private audience.
This satisfies testing clip performance before full release and helps you catch issues early.
9. Schedule and Publish
Use a social‑media scheduler (e.g., Buffer, Later) to line up the clips. Space them out to keep your feed active without overwhelming followers.
Advanced Planning: Choosing the Right Moments
Not every segment of a long video is worth a micro clip. Use decision criteria to filter:
- Hook strength: Does the first 3‑5 seconds contain a visual or verbal hook?
- Standalone value: Can a viewer grasp the main idea without prior context?
- Length suitability: Aim for 15‑60 seconds; longer clips may need to be split further.
- Platform relevance: Some platforms favor humor, others education. Match the tone.
When in doubt, create a short “test cut” of 10 seconds and preview it on a mobile device. If the hook still lands, you’ve found a viable micro clip.

Batch Export Tips and Automation
Exporting dozens of clips manually can be time‑consuming. Here are automation ideas that work in popular editors:
Premiere Pro
- Use the “Project Manager” to collect selected sequences.
- Apply the “Media Encoder Queue” with a preset that includes the desired resolution, bitrate, and format.
- Enable “Use Previews” to speed up rendering if you’ve already rendered the timeline.
DaVinci Resolve
- Mark each clip as a “Compound Clip”.
- Go to “Deliver”, choose “Render Queue”, and click “Add to Render Queue” for all compounds.
- Save a custom preset for each platform to avoid re‑configuring settings.
Free Tools (Shotcut, Kdenlive)
Both support batch export via command‑line scripts. Export a CSV of timestamps, then feed it to ffmpeg with a simple loop: ffmpeg -i source.mp4 -ss START -to END -c copy output.mp4. This method bypasses the GUI entirely and is useful for high‑volume projects.
Platform‑Specific Optimization Details
Each platform has quirks that affect how a micro clip performs. Understanding them helps you avoid re‑work.
TikTok & Instagram Reels (Vertical)
- Resolution: 1080×1920, aspect ratio 9:16.
- Maximum length: 60 seconds (TikTok up to 3 min for some accounts, but 60 s is optimal for engagement).
- Captions: Use large, sans‑serif fonts; keep line breaks to a minimum.
- Audio: TikTok adds its own sound library; consider leaving a few seconds of “room” for users to add music.
YouTube Shorts (Vertical or Square)
- Resolution: 1920×1080 (horizontal) or 1080×1920 (vertical) accepted.
- Length: Up to 60 seconds.
- Thumbnail: YouTube automatically selects a frame, but you can upload a custom thumbnail if you publish as unlisted first.
- Metadata: Include #Shorts in the title and description to improve discoverability.
LinkedIn & Facebook (Horizontal)
- Resolution: 1920×1080, aspect ratio 16:9.
- Length: Up to 2 minutes is acceptable, but shorter (30‑45 s) performs better for feed scrolling.
- Captions: Mandatory for silent autoplay; use the same SRT file.
Real‑World Example: Turning a 45‑Minute Interview into 12 Shorts
Imagine you recorded a 45‑minute interview with a graphic‑design expert. Here’s how the workflow looks in practice:
- Identify high‑impact moments: You flag 12 moments ranging from 30 seconds to 2 minutes each—tips on color theory, tool shortcuts, and career advice.
- Outline with timestamps: You log each segment in a spreadsheet, noting that the first tip works best on TikTok, the second on YouTube Shorts, and the rest on Instagram Reels.
- Name clips: Using the naming convention, the first clip becomes
INT01_TT_05-35_ColorTip. - Trim and export: Batch export with a 1080×1920 preset for TikTok, 1080×1080 for Reels, and 1920×1080 for Shorts.
- Captions: You generate a full transcript, then extract the relevant lines for each clip, keeping them under 100 characters for TikTok.
- Thumbnails: You capture a frame where the interviewee points at a color wheel and overlay the text “Color Hack”.
- Test: You upload the TikTok clip privately, confirm the caption appears correctly, and note that the audio ducking works.
- Schedule: Using Buffer, you set the TikTok clip for Monday morning, the YouTube Short for Wednesday, and the Instagram Reel for Friday.
Within one week, the interview has generated 12 pieces of content, each tailored to a platform’s audience.
Checklist: Quick Review Before You Hit Publish
- ✅ High‑impact moments marked with timestamps
- ✅ Clip outline includes platform and hook
- ✅ Files named following the convention
- ✅ Export settings match each platform’s specs
- ✅ Captions synced and sized for platform
- ✅ Thumbnail frame selected and text added
- ✅ Private test upload passed quality check
- ✅ Scheduling dates set and spaced appropriately
- ✅ Backup of all exported files stored in cloud storage
- ✅ Performance tracking spreadsheet prepared
Common Mistakes and How to Avoid Them
| Mistake | Impact | Solution |
|---|---|---|
| Cutting without context | Viewers feel confused and drop off | Always ensure each micro clip contains a clear premise and a payoff. Add a brief intro text overlay if needed. |
| Using a single export preset for all platforms | Wrong aspect ratio, reduced engagement | Set up separate export presets for vertical, square, and horizontal formats. |
| Skipping captions | Lower watch time, accessibility issues | Generate captions in bulk and attach them during batch export. |
| Inconsistent naming | Hard to locate clips later | Adopt the naming convention from the start and stick to it. |
| Neglecting thumbnail testing | Low click‑through rates | Preview thumbnails on a mobile device and adjust contrast before finalizing. |
FAQ
Can I use free editing software for this workflow?
Yes. Tools like Shotcut, DaVinci Resolve (free tier), or even mobile apps such as InShot can handle trimming, caption import, and batch export. The key is to set up your folder structure and naming convention the same way you would in a paid suite.
How many clips should I aim for from a single long video?
There’s no hard rule, but a good target is 8‑12 micro clips for a 30‑45 minute source. This gives you enough variety without forcing low‑value filler.
Do I need to re‑record audio for each short?
Not necessarily. If the original audio is clean, you can keep it. However, consider adding a short intro or outro voice‑over to reinforce the hook, especially when the clip is repurposed for a platform where users expect a quick brand cue.
What’s the best way to keep track of which clip went where?
Maintain a master spreadsheet (or use CreatePilot’s Blog Outline Generator to export a CSV) that logs clip filename, platform, scheduled date, and performance metrics. Updating this sheet after each publish creates a useful audit trail for future repurposing cycles.
How do I handle music licensing across platforms?
Most platforms provide a library of royalty‑free tracks. If you use original music, ensure it’s cleared for commercial use and that the license covers each platform’s distribution terms. When in doubt, stick to the platform’s native music options to avoid takedowns.
Can I automate caption translation for multilingual audiences?
Yes. Export the original SRT, then use a translation service (e.g., DeepL or Google Translate) to create localized files. Import each language‑specific SRT back into the editor and export separate versions or use platform‑specific caption upload features.
Post‑Publish Analysis and Iteration
After the clips go live, the work isn’t finished. Use the data you collected to refine future batches.
- Engagement metrics: Look at average watch time, likes, and comments per clip. Identify which hooks performed best.
- Audience feedback: Scan comments for recurring questions; those can become the basis for the next set of micro clips.
- Thumbnail A/B testing: Some platforms allow you to swap thumbnails after publishing. Test two variants to see which drives higher click‑through.
- Caption performance: Platforms like TikTok show caption view rates. If a clip’s captions are frequently turned off, consider simplifying the text.
Update your master spreadsheet with these insights, then apply the learnings to the next long‑form video you repurpose. Over time you’ll develop a data‑driven style guide that reduces guesswork and maximizes reach.
Conclusion
By mastering the process to break down long video into micro clips, you turn a single production effort into a sustainable content engine. The workflow—identifying high‑impact moments, outlining with timestamps, naming consistently, batch exporting, adding captions, optimizing thumbnails, testing, and scheduling—covers every step a beginner or intermediate creator needs. Remember to use the checklist, avoid common pitfalls, and leverage free or low‑cost tools alongside CreatePilot’s utilities for planning and metadata. With practice, you’ll see higher engagement across platforms while saving time on future projects.
Found this guide useful? Support more free creator tools.
Buy Me a Coffee
Comments
Post a Comment