

A standardized publishing pipeline starts long before you open a video editor or type your first sentence. Without a clear blueprint, every post feels like starting from scratch, leading to wasted energy, inconsistent messaging, and creative burnout. By adopting a reliable content brief for solo creators, you establish a repeatable framework that turns raw ideas into ready-to-publish assets without friction. This guide walks you through designing, refining, and applying a practical operational brief to stabilize your weekly publishing output.
Many independent operators fall into the trap of treating content creation as an entirely improvised art form. While genuine inspiration matters, running a sustainable one-person media brand requires treating your creative output like a streamlined production system. When you rely solely on spontaneous motivation, you invite friction at every single stage of the workflow. You stare at a blank screen wondering what angle to take, struggle to remember the primary point you wanted to make, and realize halfway through editing that you forgot to capture a crucial visual or reference link. Implementing a standardized brief removes this cognitive drag, giving you a clear runway from initial concept to published asset.
Why Solo Creators Need a Standardized Publishing Pipeline
Independent creators often rely on spontaneous inspiration. While creativity drives initial spark, relying solely on mood makes consistency impossible. When you sit down to write, film, or design without pre-determined guardrails, you waste precious cognitive energy deciding what the post should actually say, who it is for, and where it fits in your broader strategy.
A structured brief acts as a single source of truth for every piece of content you produce. It anchors your message, clarifies your call to action, and lists required production assets before you touch a camera or keyboard. Implementing a standardized publishing pipeline protects your time and ensures that your content meets your quality standards every single week.
Consider the mental cost of context switching. If you have to pause your writing or recording to figure out your target audience, search intent, or formatting requirements, you break your flow state. Over the course of a week, these micro-delays add up to hours of lost productivity. A content brief front-loads the difficult thinking. By deciding the scope, angle, and structure beforehand, execution becomes a straightforward, mechanical process of filling in the blanks.
Furthermore, standardizing your pipeline ensures brand continuity. Whether your audience finds you via a short video, an in-depth article, or a social media carousel, they should experience a cohesive voice and clear value proposition. A brief keeps you anchored to your core topics so you do not wander off on tangents that confuse casual followers.
Before building your system, remember that templates are guides, not rigid cages. Use human review to adjust prompts and asset lists as your channel evolves. If you need help structuring your initial concepts or organizing output themes, you can use the Blog Outline Generator to map out logical structural blocks before writing your detailed briefs.
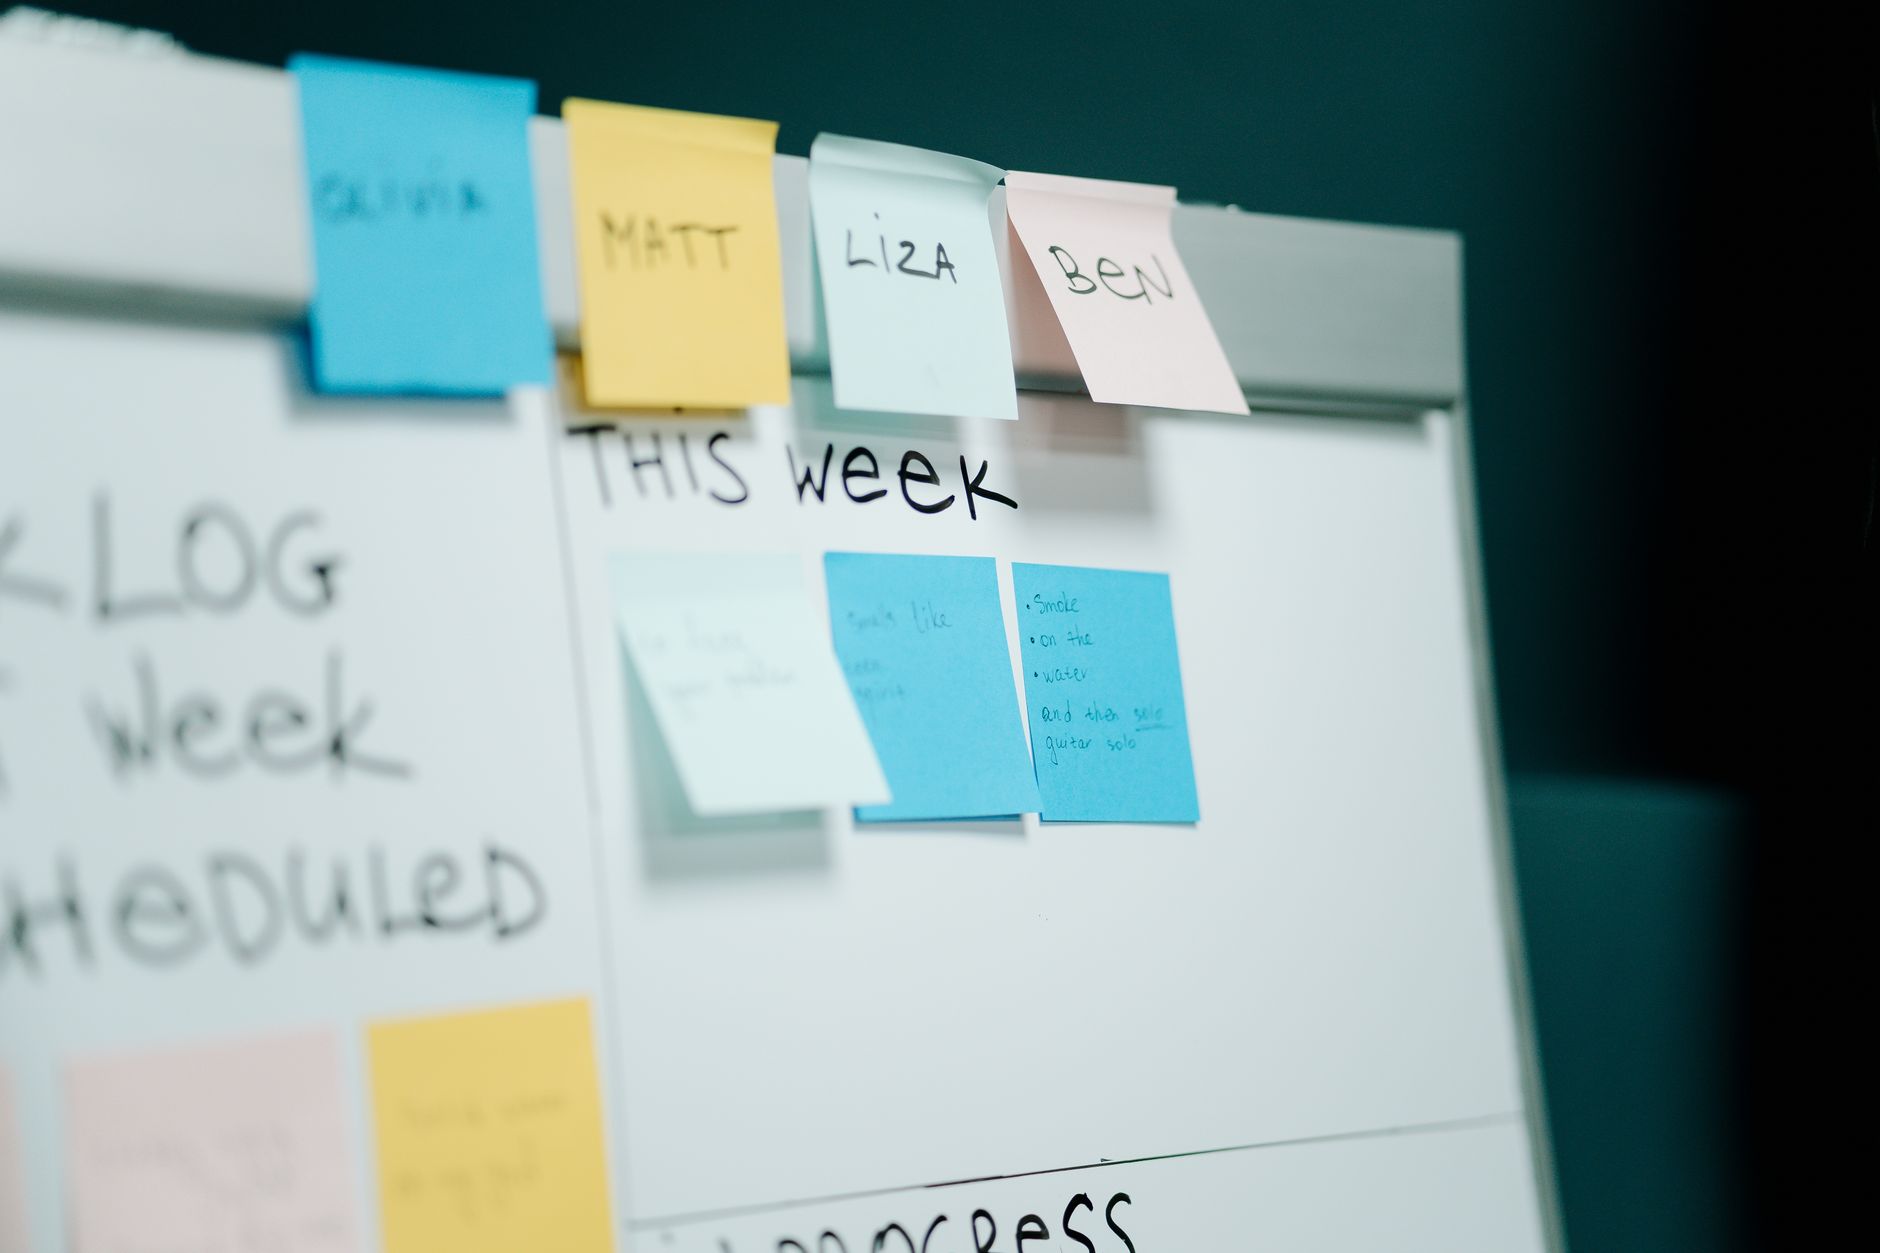
Anatomy of a High-Impact Content Brief
To make your brief genuinely useful, keep it concise enough to fill out in five minutes while remaining detailed enough to prevent mid-production confusion. A well-designed workflow document contains several foundational blocks:
- Metadata & Intent: Working title, publication date, platform destination, and the primary reader intent or search objective.
- Core Message: A single sentence defining what the viewer or reader must understand, feel, or do by the end of the piece.
- Audience Anchor: Which specific segment of your audience this targets—whether absolute beginners, intermediate practitioners, or long-time followers.
- Asset Inventory: A precise list of B-roll, custom graphics, screenshots, or reference links needed during production.
- Distribution & CTAs: The exact call to action and any companion platform adaptions required for cross-channel posting.
By organizing these elements into a single digital document, you eliminate the mental drag of figuring out production requirements halfway through recording.
Let us break down each section in greater detail to understand why it deserves a spot in your template:
The metadata section grounds the project in reality. Without a target date and platform, ideas tend to float indefinitely in your backlog. Assigning a destination forces you to think about format constraints immediately—such as whether a topic suits a vertical video format or an exhaustive long-form guide.
The core message is arguably the most critical component. If someone asks you what your piece is about and you stumble over a three-minute explanation, your content is unfocused. Forcing yourself to write a single-sentence takeaway guarantees that your final output stays tight and actionable.
The audience anchor prevents generic content. When you try to write for everyone, you write for no one. Specifying whether your viewer is a beginner setting up their first workspace or an advanced operator troubleshooting automation tools changes the vocabulary, examples, and depth of your explanations.
The asset inventory acts as your shopping list before you start cooking. If you need a specific screenshot, a product photo, or an external research link, list it here. Searching for graphics while editing is a major productivity killer.
Finally, the call to action clarifies the next step for your audience. Every piece of content should lead somewhere—whether that is subscribing to your newsletter, checking out a related resource, or applying a specific framework.
Step-by-Step Guide to Implementing Your Brief Workflow
Integrating a new operational habit requires a phased approach. Do not try to overhaul your entire content ecosystem overnight. Instead, introduce your new template gradually using a controlled workflow.
- Audit your current idea capture: Look at where your notes currently live—notes apps, random scraps of paper, or voice memos. Consolidate them into a single holding area.
- Draft your master template: Create a digital document containing the core sections outlined above. Save it in your preferred workspace tool (Notion, Google Docs, or Obsidian).
- Test on your next three pieces: Force yourself to fill out the brief completely before you begin drafting or filming your next three scheduled posts. Notice where you hesitate or where the template feels redundant.
- Refine and streamline: Trim away unused fields and expand sections that proved helpful. Your brief should feel like a helpful assistant, not a bureaucracy.
When you need to refine the descriptive text or meta details for accompanying web pages, tools like the Blog Meta Description Generator can help you quickly draft concise, accurate summaries that align with your brief's core message.
Adopting this workflow takes conscious discipline during the first two weeks. You might feel tempted to skip the brief for "quick" posts. Resist this urge. The moment you skip the brief is usually when scope creep occurs, causing a simple update to balloon into a multi-day project. Treat the brief as a non-negotiable entry barrier for every piece of content you create.
As you build familiarity with the template, experiment with keyboard shortcuts, database views, or pre-filled templates in your workspace software to cut the setup time down to under three minutes. The easier it is to spawn a new brief, the more likely you are to maintain the habit long-term.

A Practical Example in Action
To see how this functions in reality, consider an independent creator producing a short instructional video and companion newsletter about simplifying home office setups. Without a brief, they might ramble on camera, forget to mention their primary recommendation, and miss adding a clear next step.
With a standardized brief, their workflow looks like this:
- Working Title: Three ergonomic desk tweaks for solo creators.
- Core Message: Small adjustments to monitor height and lighting eliminate daily neck strain without buying expensive gear.
- Target Audience: Desk-bound creators experiencing physical fatigue during long editing sessions.
- Asset Checklist: Wide shot of current desk, close-up of monitor riser, screen recording of ergonomic checklist.
- Call to Action: Download the free workspace audit checklist linked in the description.
This clarity allows the creator to film in a single uninterrupted take, knowing every required visual and verbal cue has been accounted for beforehand.
Consider another scenario: writing a technical tutorial. Without a brief, you might dive straight into code or software configurations without establishing why the reader should care. By mapping out the introduction, step-by-step breakdown, and troubleshooting notes in your brief beforehand, your tutorial flows logically from problem to solution, keeping bounce rates low and reader satisfaction high.
This structured approach also simplifies repurposing. Because your brief clearly outlines your core message, audience, and key takeaways, you can easily hand those bullet points to yourself a week later to draft a thread for social media, record a short audio snippet, or outline a follow-up piece.
Your Quick Publishing Pipeline Checklist
Keep this quick reference guide handy whenever you sit down to plan your weekly content production cycle:
- Have I defined the single core takeaway for this piece?
- Is the target platform and content format clearly specified?
- Have I listed all necessary visual assets, B-roll, or links in advance?
- Does the piece feature a single, unambiguous call to action?
- Have I reviewed the draft with a critical human eye to ensure original phrasing and natural tone?
- Are all external references verified and properly attributed?
- Is the working title engaging and accurately reflective of the content inside?
If you are struggling to finalize catchy, straightforward titles for your structured pieces, consider testing a few variations using the Blog Title Generator to see what communicates value instantly.
Common Mistakes to Avoid
Even with a great template, creators often fall into operational traps that diminish the value of their workflow. Watch out for these frequent missteps:
- Over-engineering the template: Adding dozens of mandatory fields turns your brief into a chore. Keep it lightweight so you actually use it.
- Skipping the core message: If you cannot summarize the point of your post in one sentence, your final content will likely confuse your audience.
- Neglecting human review: Never blindly publish content straight from raw AI-generated outlines or unedited brief prompts. Always inject your authentic voice and firsthand experience.
- Ignoring asset prep: Realizing you need a specific graphic or screen recording while editing breaks your flow and delays publishing. List your assets first.
- Treating the brief as unchangeable law: If production reveals a better angle, update your brief. Flexibility is essential; rigidity leads to stale content.
Avoiding these pitfalls ensures your system remains a productive tool rather than an administrative burden. Keep your documentation lean, focus on clarity, and let your creative energy shine through the structured framework.
Frequently Asked Questions
How long should a standard content brief take to fill out?
A well-designed operational brief should take no longer than five to ten minutes to complete. If it takes longer, your template is likely too complex and requires trimming.
Can I use this brief workflow if I am a solo creator with no team?
Absolutely. While briefs are often associated with agencies and large content teams, solo creators benefit even more because they act as their own researcher, writer, producer, and editor. A brief prevents context switching.
Should every platform use a different brief format?
No. Your core brand messaging, audience intent, and core takeaway should remain consistent. You simply adjust the asset inventory and platform destination sections depending on whether you are publishing a long-form article, a short video, or a social carousel.
What tools should I use to store my content briefs?
You can use any digital workspace that allows for searchable documents and templates. Notion, Google Docs, Obsidian, or even simple markdown files work effectively depending on your personal preference.
Related Tools for Creators
- Blog Meta Description Generator: Quickly draft concise, accurate summaries for your written content.
- Blog Title Generator: Test clear, specific title variations before you begin production.
- Blog Outline Generator: Map out logical structural blocks for your articles and guides.
Conclusion
Consistency in digital publishing does not come from relentless hustle; it comes from sustainable systems. By implementing a thoughtful content brief for solo creators, you remove the daily friction of deciding what to make and how to structure it. Standardize your pipeline today, protect your creative energy, and build a reliable foundation for long-term publishing success.
Found this guide useful? Support more free creator tools.
Buy Me a Coffee
Comments
Post a Comment