
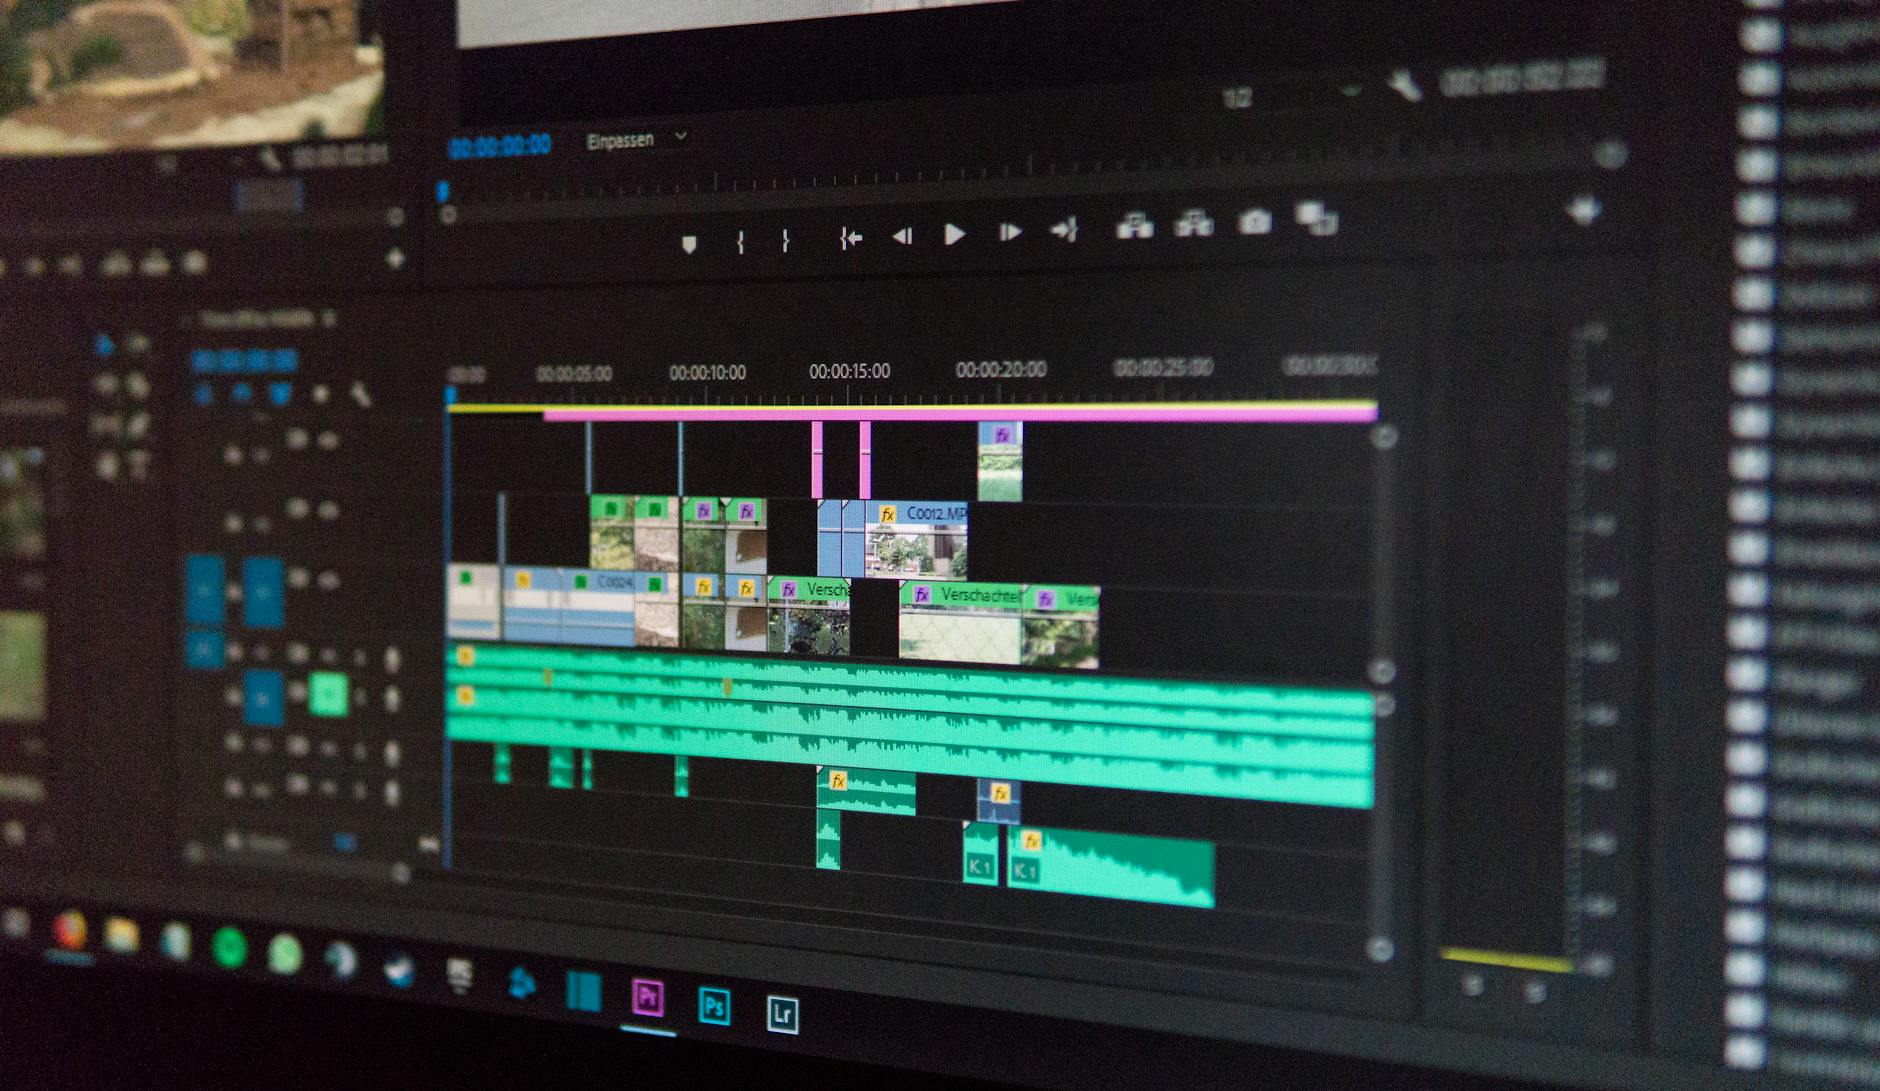
If you produce faceless videos, your editing timeline depends heavily on visual assets that support your voiceover. Sourcing clips on the fly leads to extended editing hours, creative fatigue, and inconsistent pacing. To protect your time and maintain high production standards, you need a repeatable b-roll workflow that removes guesswork from the editing phase. Instead of treating visual selection as a chaotic, mid-edit rescue mission, you can structure your asset collection into a predictable, step-by-step pipeline.
Building a b-roll system for faceless youtube channels starts with understanding that visual pacing is your primary tool for audience retention. When viewers cannot see a speaker, their attention relies on relevant motion, clear illustrations, and contextual shifts on screen. This guide explains how to establish an efficient video editing asset management for beginners, how to implement a faceless video editing asset organization system, and how to execute a simple video editing workflow for solo creators from scratch.
Many solo producers struggle because they merge writing, sourcing, and editing into a single, exhausting blur. When you isolate each phase of production, your mind stays focused on a single objective at a time. The goal of this framework is to replace panicked decision-making with a calm, repeatable sequence of actions that guarantees your final video flows smoothly from the first second to the last.
The Real Cost of Ad-Hoc B-Roll Sourcing
Many creators make the mistake of writing their script, recording the voiceover, and only then opening browser tabs to hunt for clips. This unstructured approach destroys momentum. You waste twenty minutes looking for the exact shot of a data dashboard, get distracted by irrelevant footage, and end up with a mismatched visual style across your video. This trial-and-error method burns valuable hours that could be spent planning your next content piece.
When you master how to build a repeatable b-roll workflow, you separate the thinking tasks from the mechanical editing tasks. Scriptwriting, asset sourcing, and timeline assembly become distinct phases. By establishing a practical b-roll sourcing strategy for beginners, you ensure that every clip serves a specific narrative purpose rather than acting as empty filler. Viewers immediately notice when b-roll is slapped on at random versus when it directly reinforces the spoken points.
Consider the psychological impact on you, the creator. Editing should feel like building with pre-measured blocks, not sculpting from an formless block of stone every single week. When you remove the friction of hunting for files, your mental energy stays focused on pacing, sound design, and narrative flow. This distinction separates channels that publish consistently from those that burn out after a dozen uploads.

Step 1: Establish a Standardized Folder Structure
An efficient production pipeline begins on your local hard drive or cloud storage. If your clips are scattered across random folders or buried inside a cluttered downloads directory, you will spend half your editing session searching for files. You need a clean organizing video clips for fast editing structure that remains identical for every single video project you start.
Create a master project folder template with subfolders dedicated to specific asset types. For instance, your directory might include folders for archived textures, motion backgrounds, product interface screen recordings, and concept-specific footage. Sticking to a strict faceless video editing asset organization system means you never have to guess where an asset belongs.
- 01_Project_Files: Editing project files, autosaves, and export logs.
- 02_Audio: Voiceover recordings, sound effects, and background music tracks.
- 03_Visuals_Raw: Unedited screen recordings or direct camera captures.
- 04_B_Roll_Stock: Curated external clips sorted by theme.
- 05_Exports: Final deliverables and compressed review copies.
By keeping this exact folder hierarchy across every project, your brain develops muscle memory. When you need to drop an audio effect or locate a raw screen recording, your hand moves instinctively to the right directory. This eliminates the cognitive tax of deciding where to put files and ensures that nothing gets accidentally deleted or misplaced.
Step 2: Define a Strict Naming Convention
Even the best folder hierarchy fails if your files are named things like video_final_final_3.mp4 or pexels-photo-89234.mp4. Adopting a creating a standardized video asset naming convention allows you to search your system instantly without previewing dozens of files.
Use descriptive, modular file names that tell you what the clip shows and where it belongs. A strong naming formula follows a predictable pattern: [Topic]_[Subject]_[ShotType]_[Orientation].[ext]. For example, a clip showing financial analytics on a screen might be saved as finance_dashboard_closeup_horiz.mp4. This tiny habit eliminates confusion when you are working under a deadline.
When you search for assets directly inside your editing software's import panel, a clean naming system lets you type keywords and instantly isolate the exact visual you need. Without this, you are forced to open external folders, preview random files, and guess their content. Standardized naming turns your operating system's search bar into a lightning-fast asset retrieval tool.

Step 3: Map Visuals During the Scripting Phase
The secret to how to categorize b-roll footage for quick access is matching visuals to your words before you ever open your editing software. When you write your voiceover script, create a split-column document or add bracketed visual cues directly into your text lines.
If your sentence discusses the importance of data retention, write a visual cue right below it indicating that a clean analytics interface should appear on screen. This transforms your script into a production blueprint. When you reach the editing suite, you are no longer deciding what goes on screen; you are simply executing a plan you already approved.
This pre-mapping phase also highlights gaps in your script. If you write a sentence that is difficult to illustrate with b-roll, you can rewrite the line while you are still in the drafting mode. Fixing a weak conceptual sentence during scriptwriting takes thirty seconds; trying to rescue it during a late-night editing session can stall your entire project for hours.
Step 4: Build and Maintain a Dedicated Stock Library
Relying entirely on external websites every time you start a new video slows you down. To achieve true consistency, focus on building a stock footage library for faceless videos that lives locally or in an organized cloud archive. Over time, you will develop a signature visual aesthetic—whether that involves moody cinematic landscapes, minimalist tech graphics, or clean isometric animations.
As you collect clips that match your channel's brand, drop them into your master category folders. When you need to source b-roll clips consistently, check your personal library first before searching external sources. This approach preserves your visual style and reduces your reliance on repetitive stock imagery.
Having a personal repository also protects you against platform availability changes or subscription lapses. When your favorite clips are safely stored in your local directory, you own your aesthetic pipeline completely. Over months of creation, this library becomes a proprietary asset that accelerates every video you produce.
Step 5: Use Reusable Timeline Templates
Every minute spent recreating adjustment layers, color grading presets, transition effects, and text templates is a minute stolen from content creation. To accelerate your output, create a master project file that contains all your core branding elements, audio track balancing nodes, and title cards already in place.
When you start a new video, you simply duplicate this master project, drop your voiceover into the audio track, and fill in your pre-sorted visual folders. This practice of building a reusable template project for video editing cuts your setup time down to zero and ensures your channel branding remains razor-sharp across every upload.
Your master template should include pre-routed audio buses, standard background music track placeholders with volume automation, and lower-third graphic containers. By standardizing these technical elements once, you never have to rebuild them from scratch, allowing your editing sessions to focus entirely on visual storytelling and pacing.
Realistic Example: The 60-Minute Script-to-Timeline Pipeline
Consider how a solo creator produces a ten-minute educational video without showing their face. Instead of diving straight into editing, they allocate their time into distinct, bounded intervals:
- Script & Cue Generation (30 mins): The creator writes the voiceover and inserts bracketed visual tags for every transition point.
- Asset Gathering (20 mins): Using their tag list, they pull required screen recordings and select clips from their organized local folders, renaming them immediately using standard naming rules.
- Timeline Assembly (40 mins): They open their master project template, drop in the voiceover, snap the pre-named visual assets into their respective tracks, and sync the cuts.
By enforcing this structure, total editing time drops dramatically. They never get stuck wondering what image to use because the asset management system did the heavy lifting beforehand. The separation of tasks creates a smooth operational rhythm that prevents mental fatigue.
A Practical Checklist for Your Next Video Project
Keep this checklist visible near your workspace to ensure you never skip steps when assembling your video assets:
- [ ] Script includes bracketed visual cues for every major transition.
- [ ] Project folder template duplicated and renamed for the new topic.
- [ ] Voiceover audio recorded, cleaned, and placed on the timeline.
- [ ] External and internal clips gathered and renamed using standard naming conventions.
- [ ] Visual assets sorted into respective subfolders before editing begins.
- [ ] Rough cut assembled using visual cues from the script.
- [ ] Pacing, audio levels, and transitions reviewed by a human editor before final export.
Using a physical or digital checklist ensures accountability. When you rush through prep work to get to the fun part of editing, you inevitably create downstream bottlenecks. Respecting each checklist item guarantees that your final export is clean, professional, and delivered on schedule.
Common Mistakes in B-Roll Management
Even creators who understand the importance of workflow often stumble into predictable traps that destroy their efficiency. Watch out for these pitfalls:
- Relying on memory: Assuming you will remember where you saved a brilliant clip from three weeks ago. Always use your folder hierarchy and naming conventions.
- Over-collecting: Downloading hundreds of gigabytes of random footage "just in case." Curate intentionally based on your actual content pillars.
- Skipping human review: Relying completely on automated sorting tools without checking if the selected clips actually match the emotional tone of your voiceover.
- Inconsistent aspect ratios: Mixing vertical and horizontal clips haphazardly without proper scaling or framing, which jars the viewer's eye.
- Neglecting backups: Leaving raw assets and project files on a single drive without maintaining an offsite or cloud backup copy.
Avoiding these traps requires discipline, but the reward is a smooth, predictable production cycle. When you treat your assets with professional respect, your editing software becomes a canvas rather than an obstacle course.
Frequently Asked Questions
How many b-roll clips should I include in a faceless video?
As a general rule, visual changes should occur every three to five seconds to maintain viewer retention in faceless formats. However, pacing should always match the complexity of your audio; do not force rapid cuts over calm, explanatory segments where viewers need time to absorb information.
Should I store all my b-roll locally or in the cloud?
If you edit frequently, keeping active assets on a fast local solid-state drive prevents timeline lag. Archive older or seasonal footage in cloud storage or external hard drives to keep your local workspace lean and responsive.
How do I handle licensing and copyright for stock clips?
Always review the specific license terms of the platforms or libraries you use. Maintain a dedicated text file within your project folder logging where each external clip was sourced to ensure full compliance and peace of mind.
Can I automate my b-roll asset organization?
You can use file-renaming utilities and folder templates to automate the structural setup, but human review remains essential. Always inspect your clips to ensure they align naturally with your script's narrative arc before finalizing your edit.
What is the best way to handle mixed aspect ratios?
Standardize your sequence settings to match your primary distribution platform (such as 16:9 for YouTube or 9:16 for Shorts). When importing clips of differing orientations, apply consistent scaling, framing, or background blurs so the final video feels intentional and polished.
Conclusion
Mastering a repeatable b-roll workflow transforms video production from a frustrating chore into a predictable, streamlined system. By structuring your folders, enforcing strict naming conventions, and mapping your visuals during the script phase, you eliminate the friction that causes burnout. Implement these habits in your next project, refine your asset library over time, and watch your editing hours shrink while your creative output grows. Consistency is the foundation of channel growth, and a reliable b-roll system is the engine that drives that consistency forward.
Found this guide useful? Support more free creator tools.
Buy Me a Coffee
Comments
Post a Comment